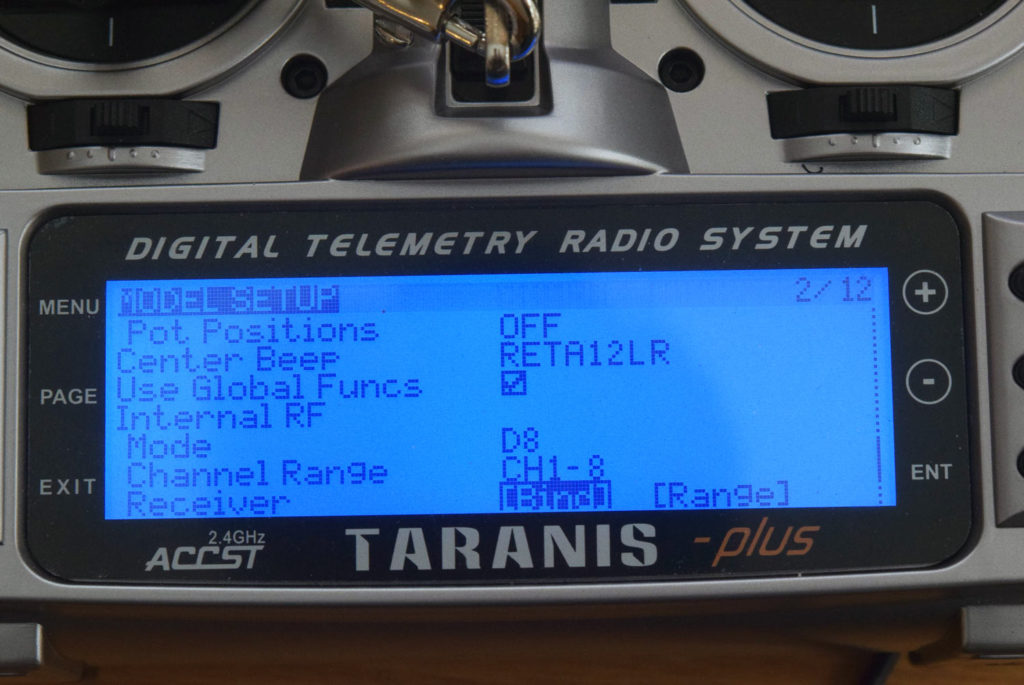
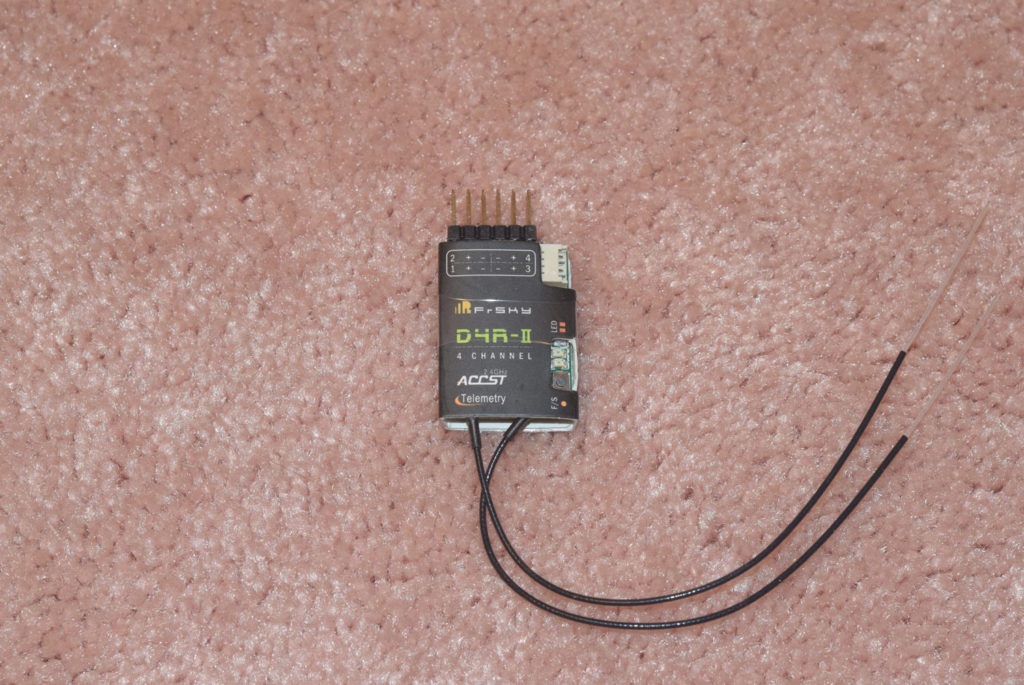
In Part 4 of the ZMR 250 4S build we’ll take a look at how to setup telemetry using the FrSky D4R-II receiver and the Taranis X9D Plus transmitter.
So far in this ZMR 250 4S build series we’ve installed new motors and ESC’s, flashed our Rev. 5 NAZE 32 board to betaflight 3.1, and covered how to setup failsafe with the D4R-II receiver. You can view those parts here: ZMR 250 4S Build
Telemetry is a great feature that gives you access to large amount of information about your quad copter, such as main battery voltage and receiver signal strength – plus a lot more! With a Tarnais transmitter, these data values can be read aloud during a flight for example.
Setting up telemetry will require you to open the Betaflight Configurator and enable a couple of additional settings that we did not enable during our initial setup in the “betaflight setup tutorial”
Once you have connected the flight controller to your computer, in the betaflight configurator, click on the “Configuration” tab on the left menu. You’ll want to enable the two settings shown in the photo below: SOFTSERIAL and TELEMTRY.
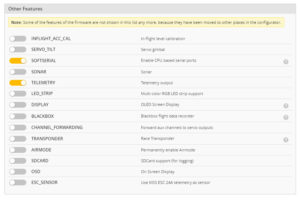
Once these two settings are enabled click the SAVE AND REBOOT button at the bottom right of the screen.
Next we’ll need to enable the SOFTSERIAL1 in the “Ports” tab in betaflight configurator. Also be sure to select the type of “Telemetry Output” – in this case we’ll be using the FrSky option with the D4R-II receiver.

Click the SAVE AND REBOOT button.
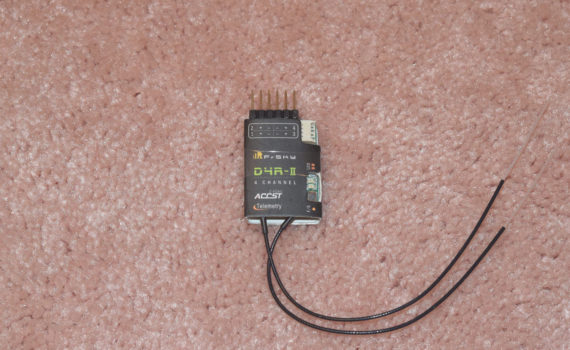
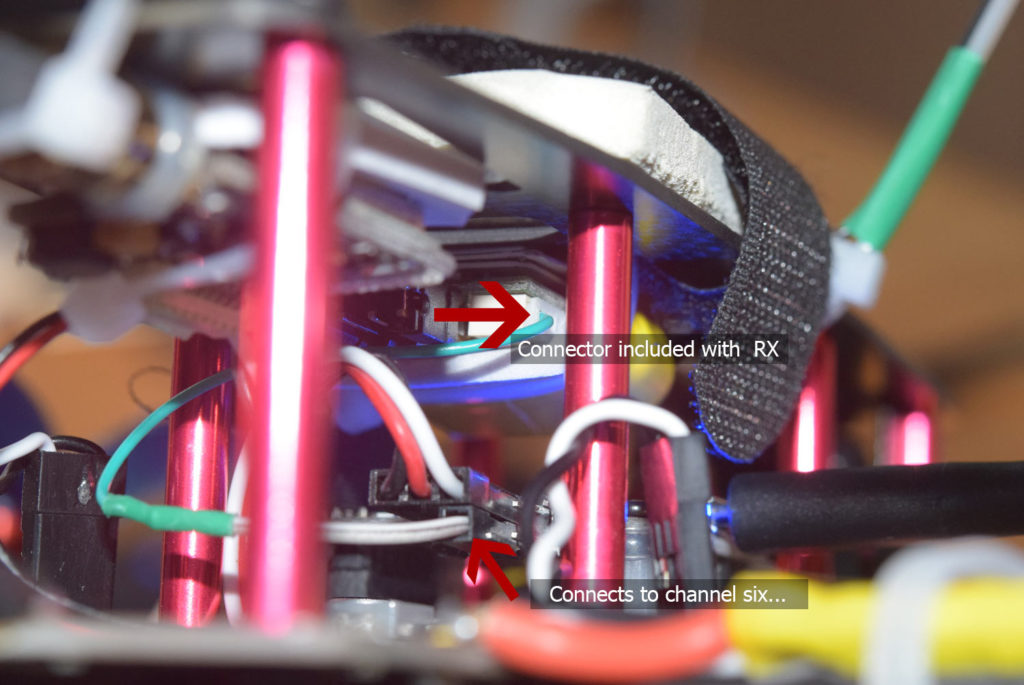
With these settings in place, your receiver should now be ready to send telemetry data to your radio. In order to accomplish that, you will need to install the green wire on the connector included with the D4R-II receiver to channel six on your NAZE board. Telemetry data be sent through this channel to your receiver.
In the photo below you can see how I’ve connected the board and receiver. I used some single jumper wires and soldered this into the green wire that connects to the D4R-II receiver. You could also just do a direct solder if your board doesn’t have the pins already in place. You can purchase these single jumper wires from Amazon: LINK
With every thing above setup, you can now power up your transmitter and PAGE into the TELEMETRY screen.
From the main screen press MENU once, then press AND hold the PAGE button and this will take you back a page into the last screen – which is the TELEMETRY screen.
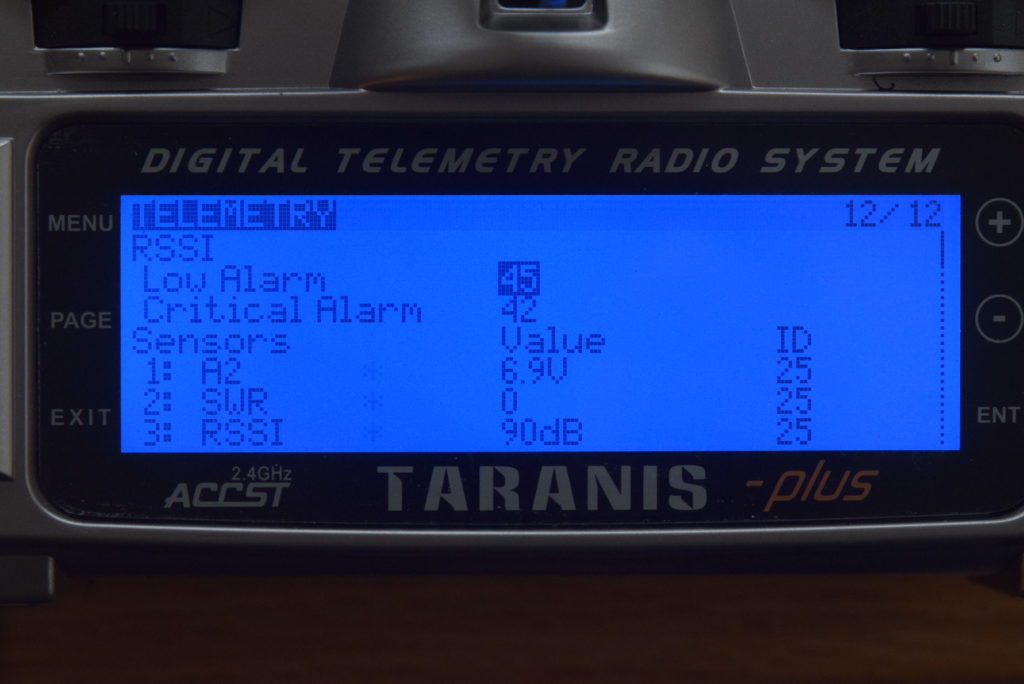
At first you may only see 4 sensors. Use the – (MINUS) button to scroll down to where it says “Discover New Sensors”. Press ENT once to begin the discovery process.
NOTE: Telemetry data is only sent once the quad copter has been armed. MAKE SURE THE PROPS ARE REMOVED BEFORE ARMING YOUR QUAD!
Once the quadcopter is armed, immediately you should see quite a list of sensors show up! For my particular case I’m seeing 18 sensors! Make sure to set Voltage Source to VFAS if you will be monitoring the pack voltage.
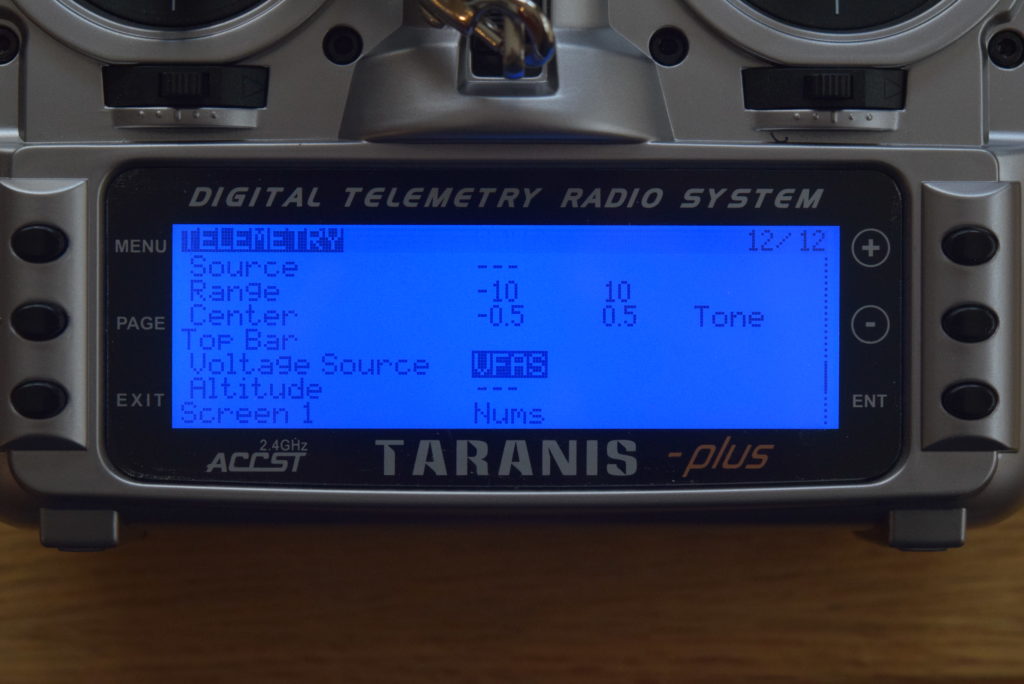
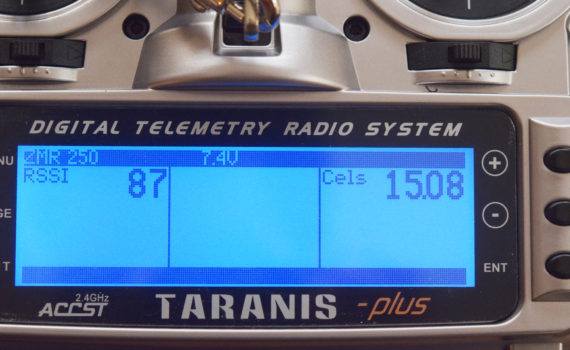
Once the sensors are showing, you can then setup your “Screens”. In my case I’m only interested in the pack voltage and the receiver signal strength, So I’ve setup screen 1 to show the RSSI and Cels options.
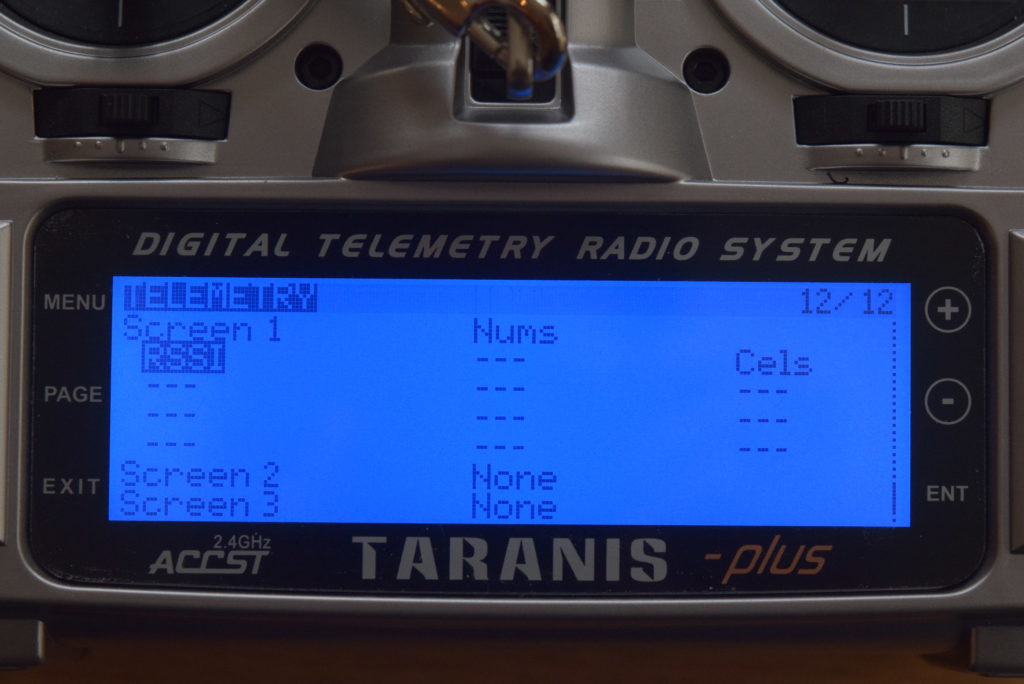
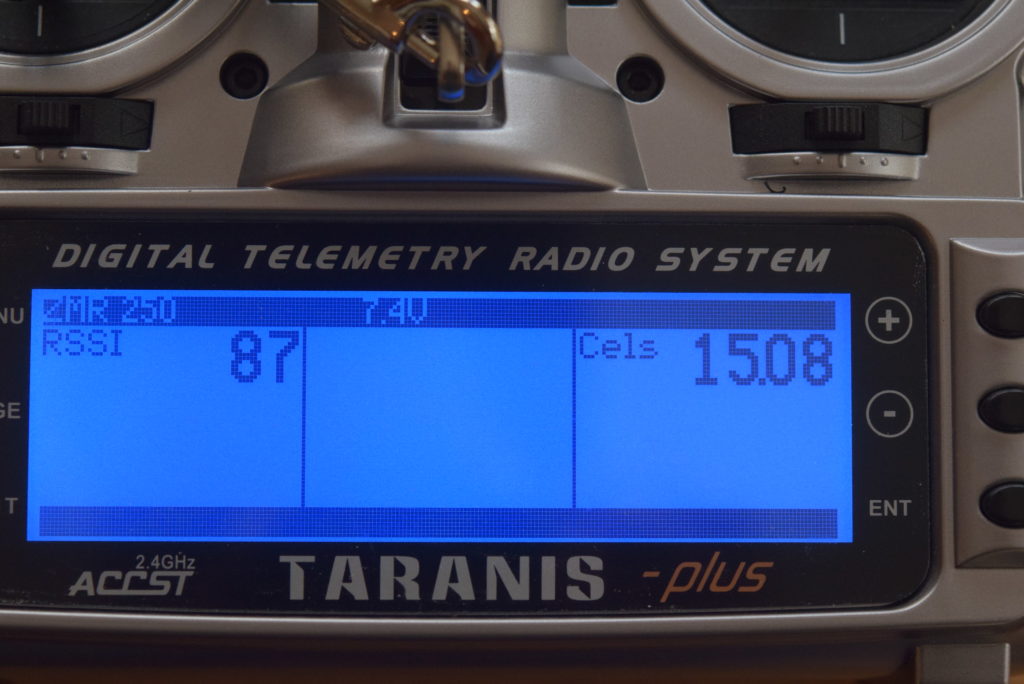
There are a number of sensors you can show – here are just a few of them:
- Cels – Main pack voltage
- Cel – individual cell voltage (calculated)
- RSSI – receiver signal strenth
- Accelerometer AccX, AccY, AccZ
- A1 – RX voltage.
- Alt – Altitude.
- … the list goes on!
Once the telemetry data is setup, you can now setup the Taranis X9D to monitor the battery voltage for example and have it give you a voice read out if the voltage drops to a certain level.
With that all said, that concludes our 4S conversion build series for the ZMR 250! Please contact if you have any questions or comments!
